Showing posts with label tutorials. Show all posts

Tuesday, February 15, 2011

A valentine, a tutorial, and a GIVEAWAY!!!

14 Days of Love.
I can't believe it's over.
I had such a fun time creating gifts for my awesome hubby and watching him get so giddy every time I handed him a new package to open.
I already have big ideas for next year, including a cute little paper mache mailbox I got on clearance!

For day 14 I stole an idea that I saw in a magazine at the beauty salon (BHG maybe?) and I knew I just had to try it.

Behold, the day 14 gift.

Photobucket

My binder rings were a little on the small side so I am going to buy bigger ones and redo that part but all-in-all it turned out great and he was really pleased!
At one point I was trying to get him to put it down so that I could tell him something and he said "No! You spent a lot of time on this and I am going to spend a lot of time looking over it! You deserve it!
*Insert beaming face here*

This cute book is super easy to make, but there is a little bit of time involved because I had to cut out a lot of little cardstock pieces. 53 of both the red and the black. But it only took me about an hour and half to complete the whole project.

Here's the step by step process.
1. I bought a deck of cards at the Dollar Tree (2 decks for $1- shhweeett!)
Photobucket

Then I inked the edges, wadded them up, spit on them (not really), and did anything else that would make them look all old and distressed.
Photobucket

I cut down my cardstock to the appropriate sizes and then matted the black on top of the red. I found this amazing product at my local craft store called Chalkstock! It comes in both 12x12 sheets and tags! I was super pumped! 3 sheets of 12x12 will do the job and I think I used 4 sheets of 12x12 red cardstock.

Photobucket

Photobucket

Photobucket

All that was left to do was write my little sentiments with a white gel pen, attach them to the cards, make my cover, punch the holes with my Crop-A-Dile and put the binder rings in the holes.

Photobucket

Photobucket

Photobucket

Super cuteness!
And he loved it!

Photobucket

This doesn't have to be just a Valentines gift. It would work great for birthdays, anniversaries, or just about anything!
If you make one I'd love to see your versions!

And last but not least: GIVEAWAY TIME!
The giveaway will run from today (February 15th) through Friday, February 18th @ 11:59pm

I've been working crazy hard to complete my 14 Days of Love Valentine mini scrapbook.
At first I was going to include a page for each day but I changed my mind due to the lack of people linking up. I decided to make it more versatile and do a generic Valentine mini. You could totally still do a 14 day album if you choose.

Giveaway rules:
Leave a comment on this post about either
1. A special Valentine's moment with a loved one.
or
2. Something you would like to see me blog about.
or
3. What you would do with the album if you won.

YOU CAN EARN EXTRA ENTRIES IF YOU:
refer my blog to someone, they follow me, and then leave your name as a reference in the comments section!

I am super pumped about my first giveaway and I can't wait to see who responds! Pass the word please!

Thanks to all who linked up throughout the 14 Days and I hope that you enjoyed slowing things down for Valentines day this year and enjoying your loved ones everyday. Don't stop here! Why not do 365 Days of Love? (Oh my!)


You can find me linking this project here:
Get Your Craft On Tuesday

Tuesday, January 18, 2011

Picture Frame Jewelry Holder

Earlier this fall I decided that I was tired of my brown and cream bedroom decor and wanted to make things a little more cheerful. So I painted over the mud colored walls and added a bright green to the back wall that the bed was on.

Photobucket

As with any remodel of a room, whether big or small, I decided that some reorganization was necessary too. This led me to find most of the jewelry that had been stored in ziplock bags or one of 20 different jewelry boxes in various locations around the space. Now I had a bigger problem, what the heck do I do with all this stuff!

The first thing I decided to do was sort through everything I had found. I had accumulated a lot of costume jewelry though-out the years and lets be honest, I just don't wear the stuff so I threw it in my donate pile.

By the time I had sifted through all of my stuff I had a nice little pile of bracelets, necklaces, earrings, and rings to show for all my hard work.

I wanted somewhere to store my jewelry that was both accessible and cute all at the same time. I hopped in my car. Drove to my second home (Hobby Lobby) and began pacing the aisles looking for some inspiration.

Then it hit me!

A picture frame!!!

So I ran over to the photo frame department and grabbed a solid black frame. Now I needed something to stick on the frame because I hated the cardboard backing and I sure as heck wasn't going to keep the picture of the smiling people I don't know! So I ran back over to the scrapbook section and found a FANTASTIC piece of paper that just matched the color of my newly painted bedroom.

Now, the real problem, what can I use to hold my jewelry.

Enter in another spark of genius! EYE HOOKS! HL had some great gold ones that were the perfect size! PUMPED!
After I paid for my purchases I was so excited to head home and try it out!

I started by painting my picture frame white. I love how some of the black still shows through giving it that vintage look.

Photobucket

Then I glued my paper to the cardboard backing using regular adhesive.

Photobucket

I marked out my holes for the eye hooks and then drilled small holes into the cardboard and screwed in the hooks.

Photobucket

and here you have it, a fabulous jewelry holder suited for any room in the house!
Photobucket
Photobucket

And doesn't it just fit perfectly into my bedroom decor!
Photobucket
The best part is that you can customize it anyway you want! Want neon orange? Do it! Want a wooden frame. Totally!
You can make it completely yours!

I linked this project up here:


Friday, November 05, 2010

Baby scrapbook made easy...

Now that I FINALLY have all of our fall decorations up and the candles warmers smelling up the air with all of the sweet fragrances of the season, I decided it was about time to get started on some of my holiday crafts that I try to do every year. One day while blog-surfing I came across this amazing idea for a first year baby album. A co-worker recently had a baby girl and I jumped on the chance to try my hand at making my own! It turned out so good, and I already have a request for a boy album! I will gladly buy all the material, customize, and create for only $30! What a great Baby Shower/Christmas gift idea!

I started with just a plain photo album that holds two 4x6 photos on each page. I decided to create my own 4x6 cards for the cover card, month info and journaling cards on Photoshop and modeled them after the cards on the original blog.


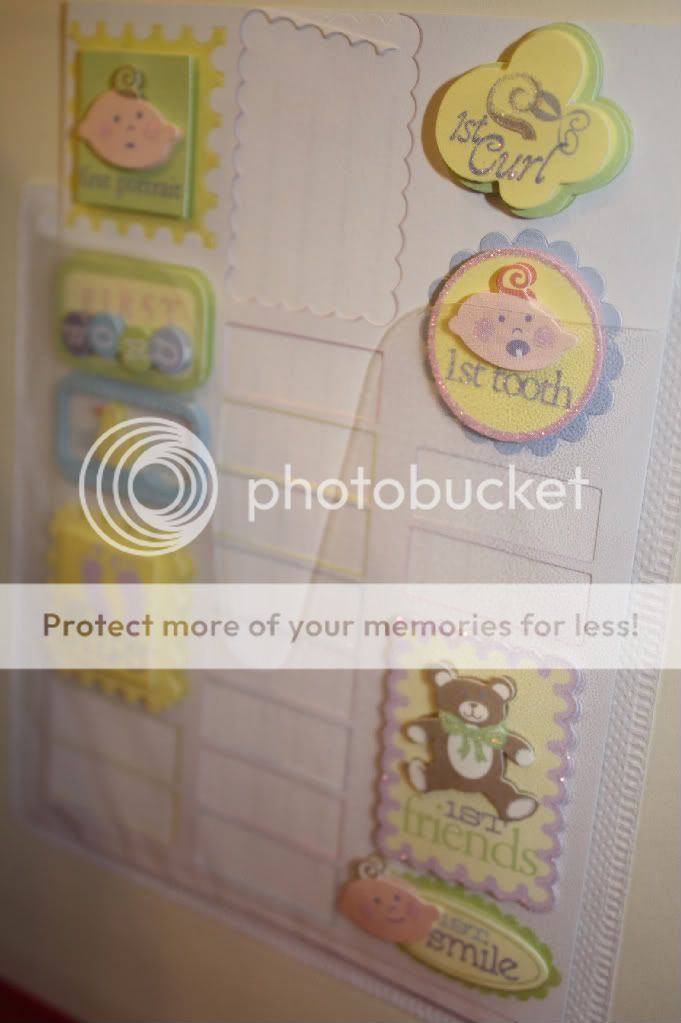
I tried to pick girly paper and embellishments that matched the colors of the crib set as closely as possible and was so excited to run across these PERFECT month embellishment stickers at my local craft store! I simply cut out some cardstock tabs and stuck them on. I included the rest of the embellishments in the back of the book to be used as needed. They included things like first tooth, first bath, first curl, etc. I also added some of my black stamping ink around the ages as a way to jazz up the name card.


After I got all of the cards created and printed I trimmed them down and then added some pretty paper that coordinated with the front cover card to try and dress things up a bit. Then I just stuck them in where they went. I allowed two full pages of photos for the newborn pictures and then each month had four complete pages. It worked out perfectly for a 200 photo album but could be adjusted depending on the album style.


Once all the cards were in I added the tabs, a decorative ribbon on the side, and tada! a completed baby book. All the new mommy has to do is add the picture and enjoy!

If you know of anyone who would like an album made I would be happy to customize and create one for you for $30! Just let me know!

LinkWithin

Related Posts Plugin for WordPress, Blogger...